Module 4 - Project reporting and linkage key extraction
When no more linkage decisions are required and you are satisfied with the quality of your linkage results, it will be time to finalise your Project. This process usually involves generating final reports about the Linkage Project and extracting linkage keys to provide to a Data Provider or to a person who is responsible for integrating datasets for research and analysis.
In this Module, we will go through the steps for:
- Producing Project-level Reports
- Extracting Linkage keys
Note that you can produce Project-level reports and/or Extract linkage keys at any point in a Linkage Project (not just at the end). The steps for doing so remain the same and all Reporting and Extraction information is retained within the system.
We will walk through the process of producing a Project-level Report and Extracting Linkage keys for an existing Linkage Project (XX_HOSP_DEATH). This Linkage Project was created in Module 2 and modified in Module 3.
This module is part of a series of training modules that can be used with any LinXmart deployment. However, the user will require permissions to create Linkage Projects, load data for linkage extract linkage map results.
All required data files are available from the main self guideded training page.
Getting started
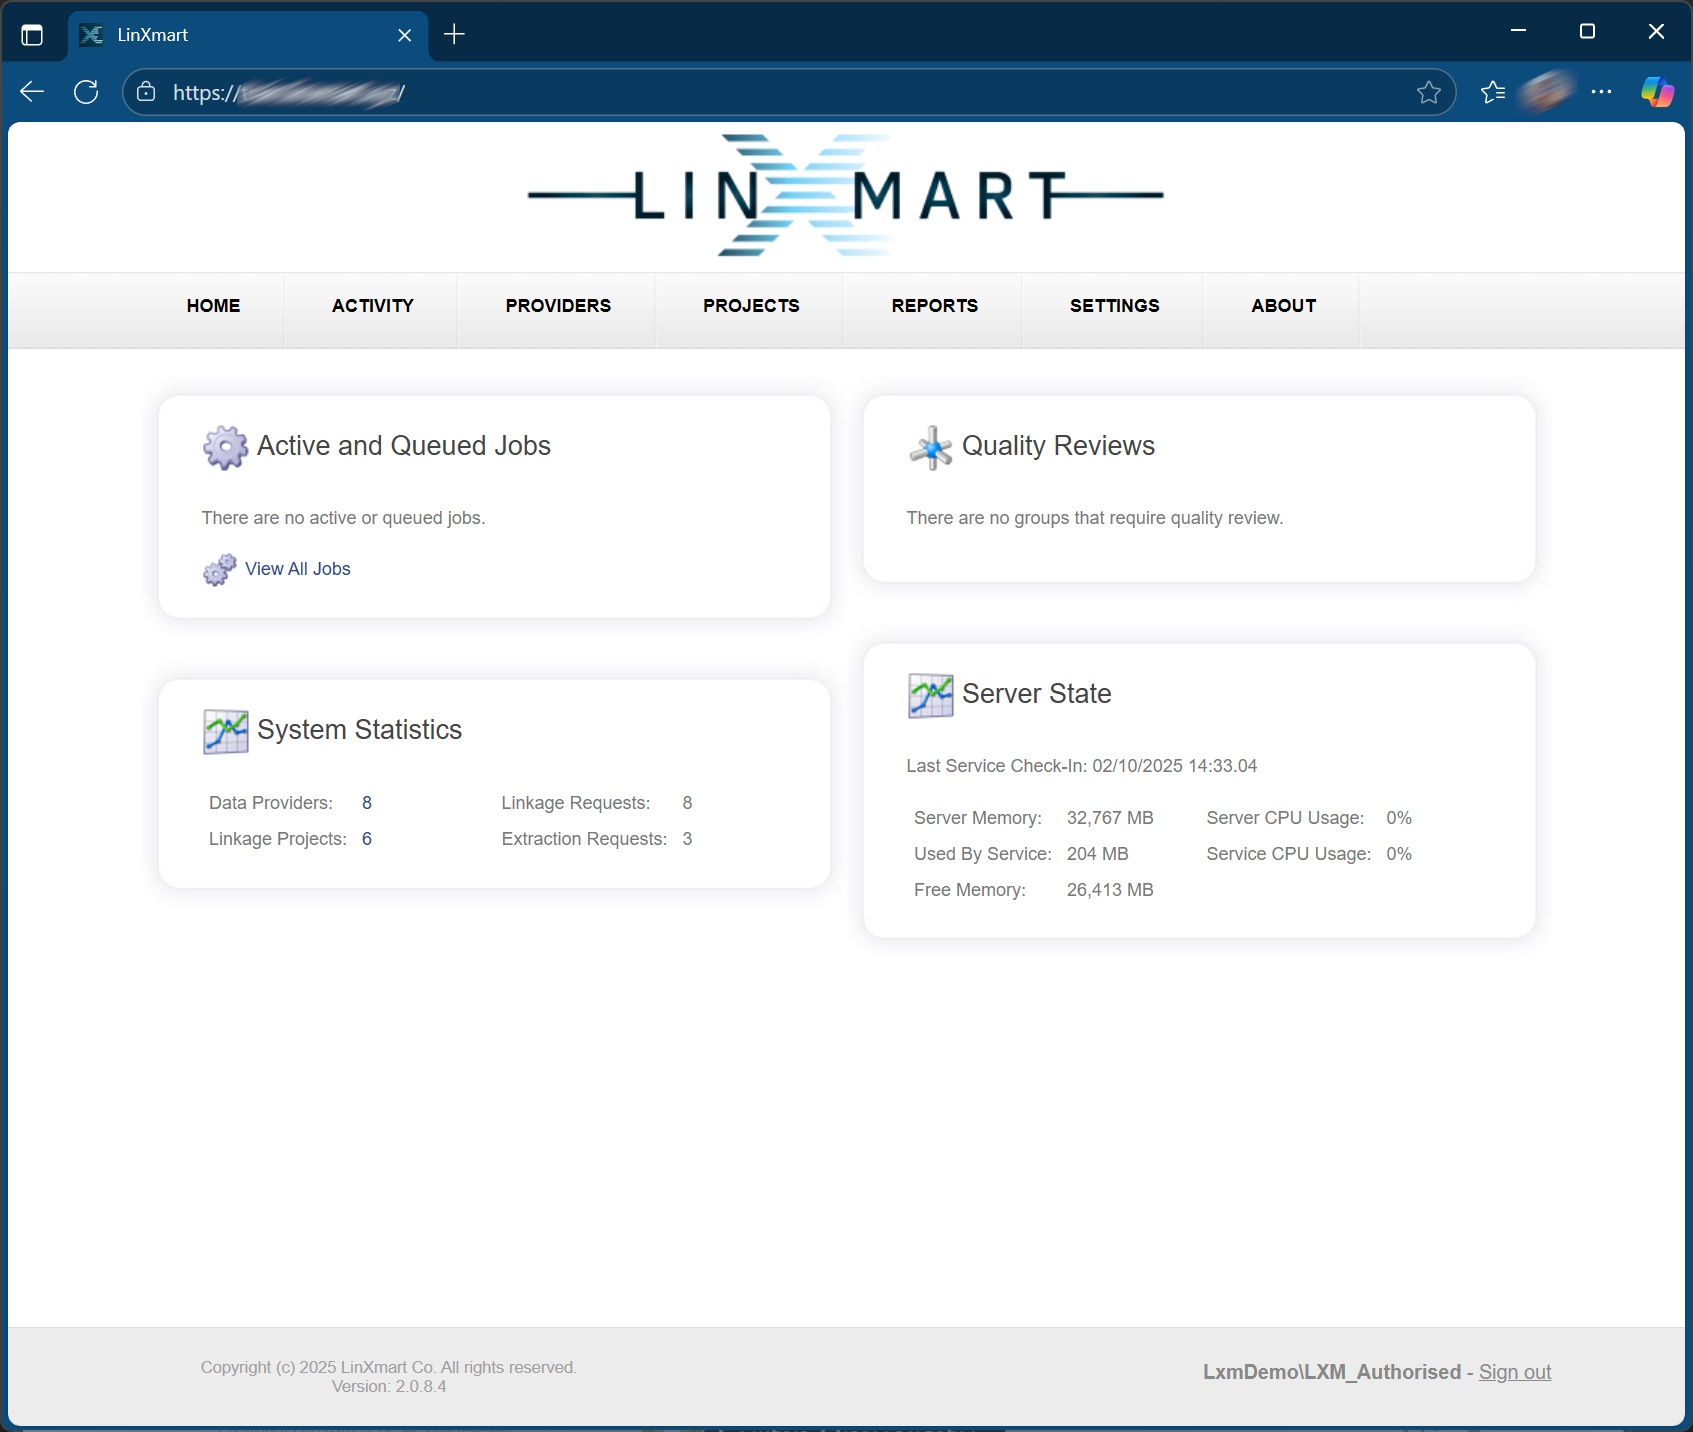
Step 1: Connect to the LinXmart web interface by typing in the LinXmart web address. You will see a screen similar to this:
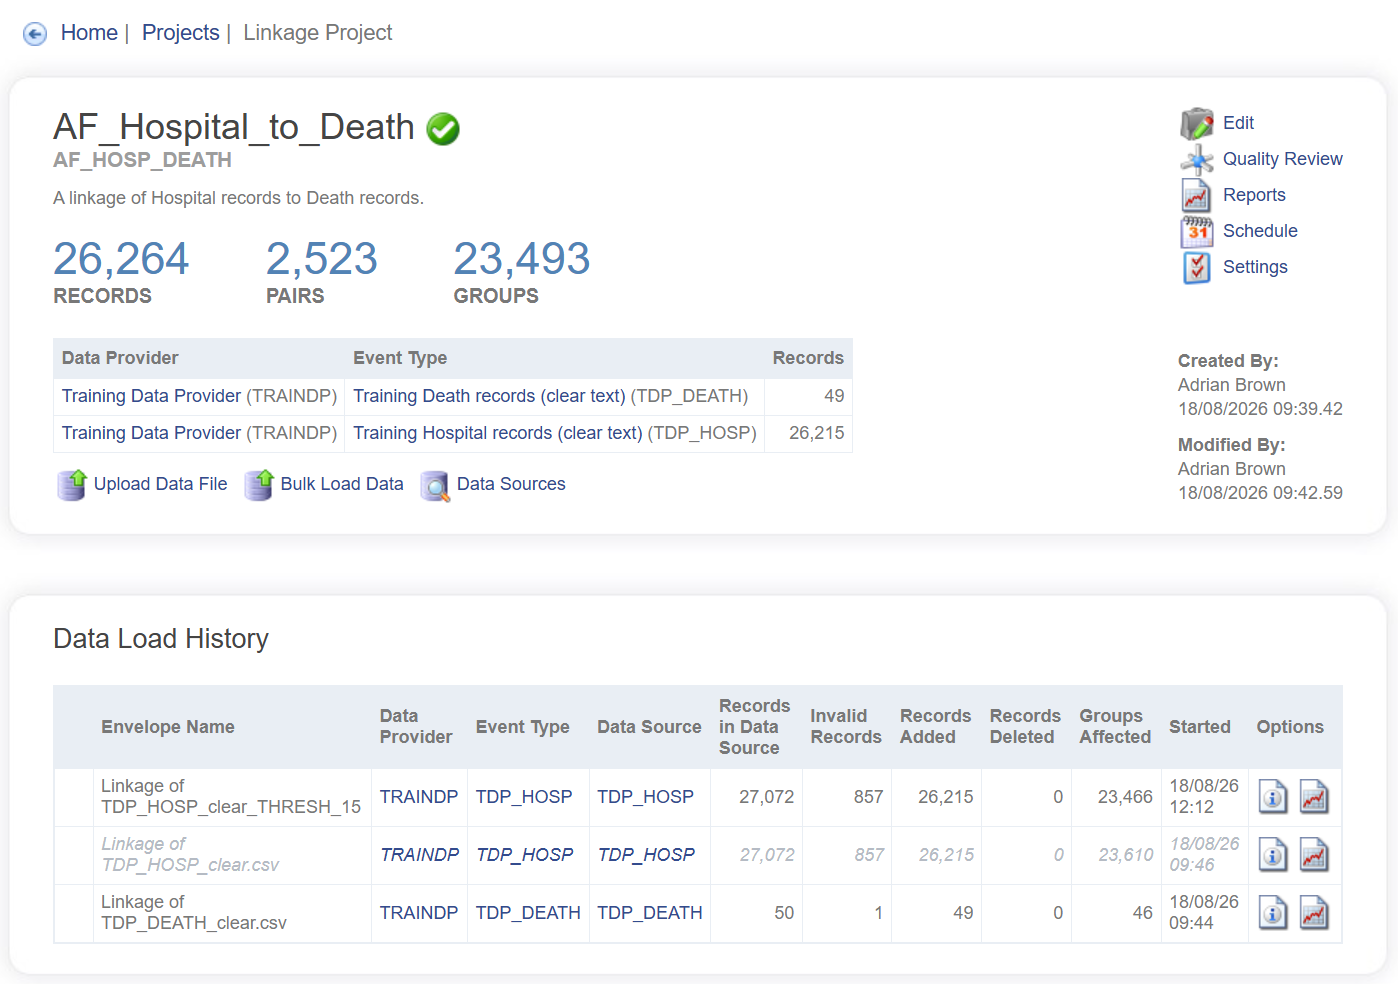
Step 2: Click on the PROJECTS tab at the top of the web page and select your project (XX_HOSP_DEATH). This will present you with the dashboard for that project (shown below).
Producing Project-level Reports
Project-level Reports contain more information than an individual Linkage Report and are produced 'on-request' by the person who is conducting the linkage.
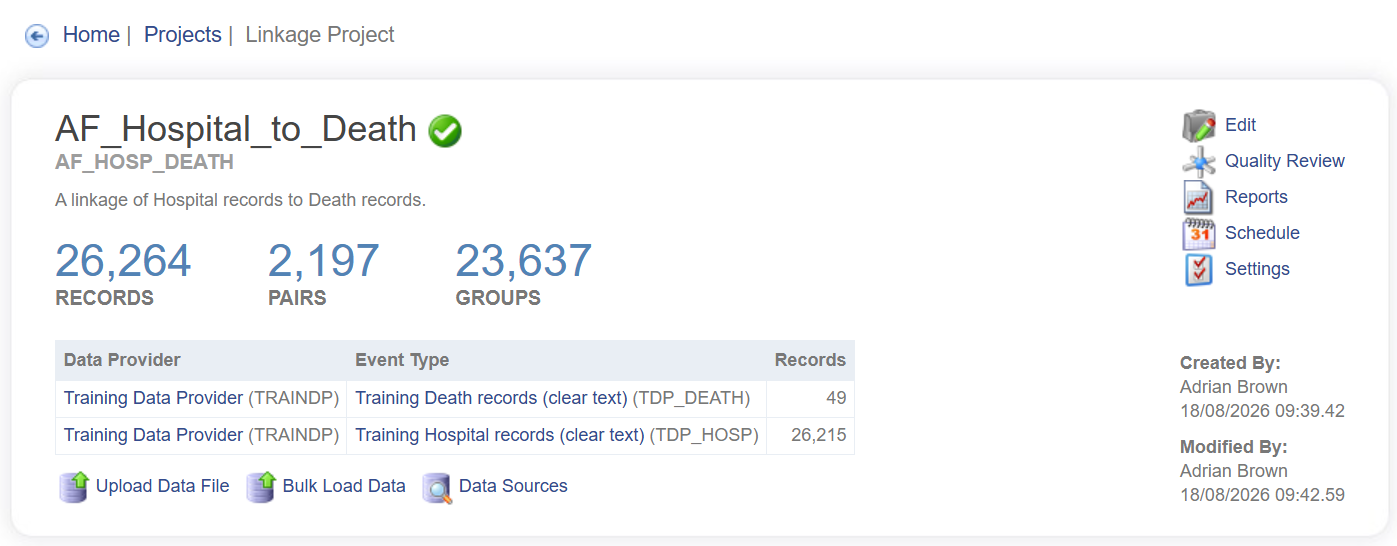
Step 3: To produce a Project-level Report, click on the Report icon (top right, as shown below).

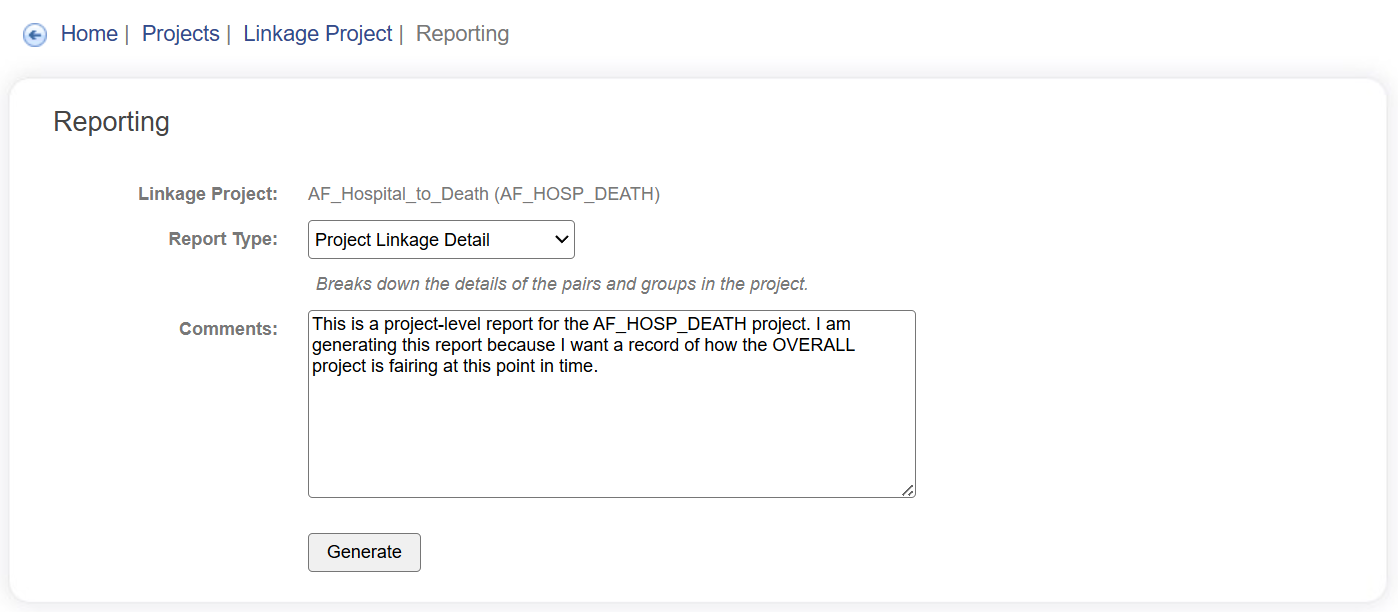
This will take you to the Reporting page for the Project. Add some relevant comments and then click on Generate (shown below). You will notice that there is nothing under Generated Reports (below the Generate button) because this is the first time you are requesting a Project-level Report.
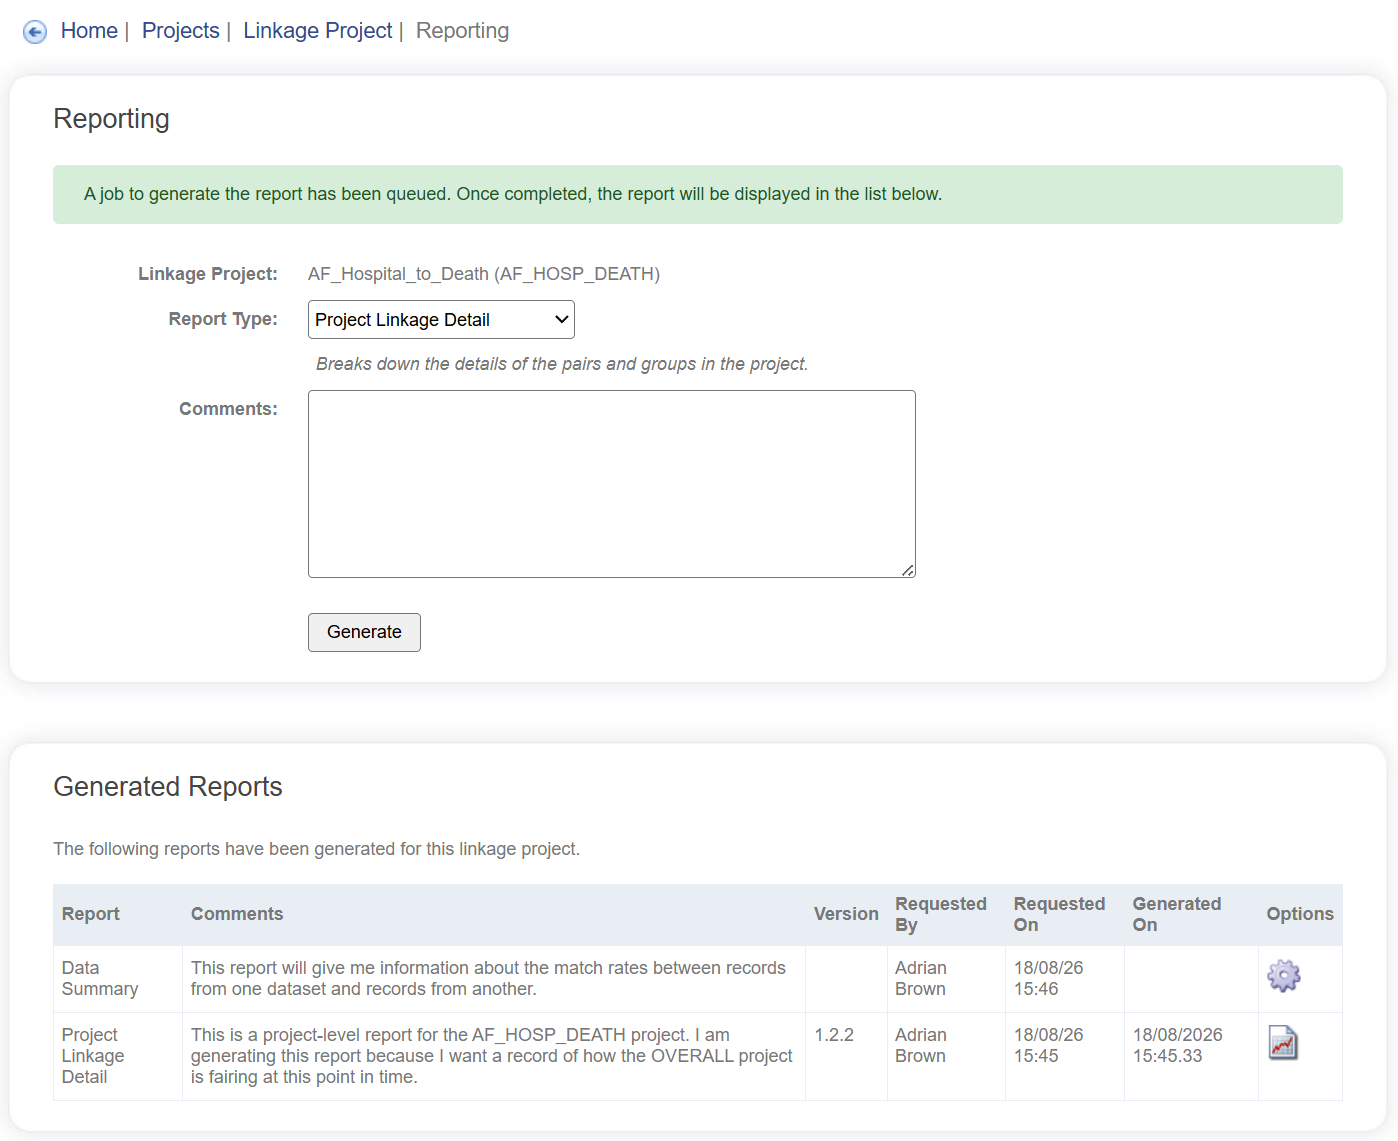
Clicking on the Generate button will initiate a Reporting Job in the system. To view the progress of this Job, go to the ACTIVITY screen and then to the JOBS tab.
The final outputs from this Reporting Job are stored in the system and will be listed under Generated Reports in the project Reporting page.
Step 4: To view the Project-level Report, navigate to your Project dashboard (if you are not already there) and click on the Report icon (top right, as per Step 3). A report now appears under the Generated Reports section. Click on the Report icon to the right of that report (shown below).
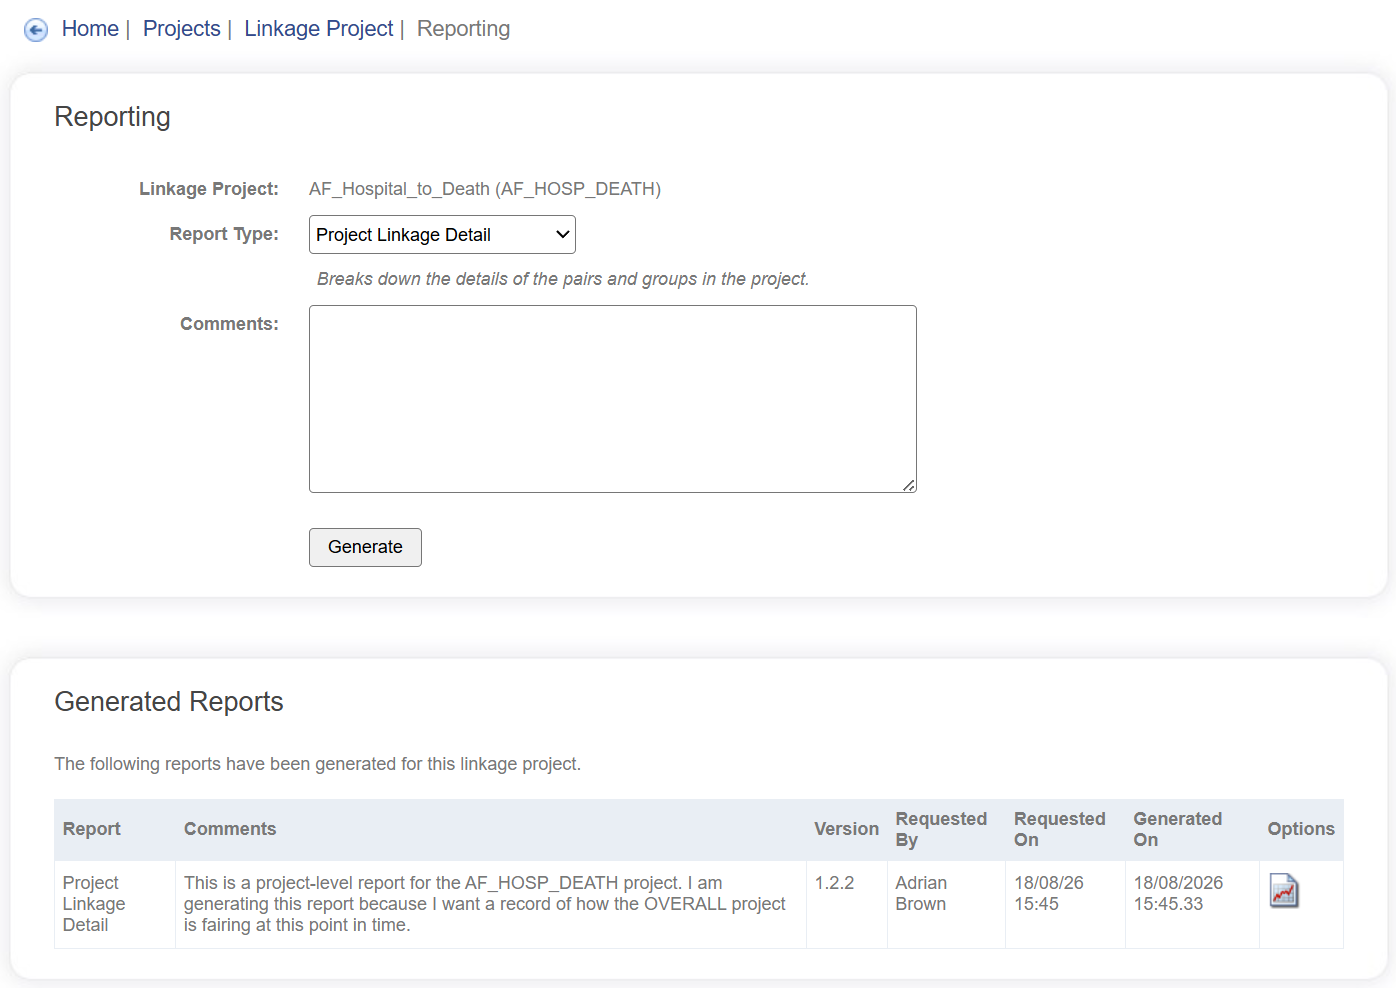

Take the time to inspect this report.
You may want to know more about the linkage – for example, what was the 'match rate' between one dataset and another? A different report may be needed to produce this information; however, the process for generating the report remains the same.
Separate Reports can be generated to produce, for example, Data Summaries, to describe Unmatched Records (singletons) and to describe Unmatchable Records. The drop-down menu under Report Type provides a list of these.
For our Module, we will request a Data Summary Report.
Step 5: From your project dashboard, click on the Reports icon (top right, as shown below).
Then request a Data Summary report (as shown below). Click the Generate button to initiate the Report request.
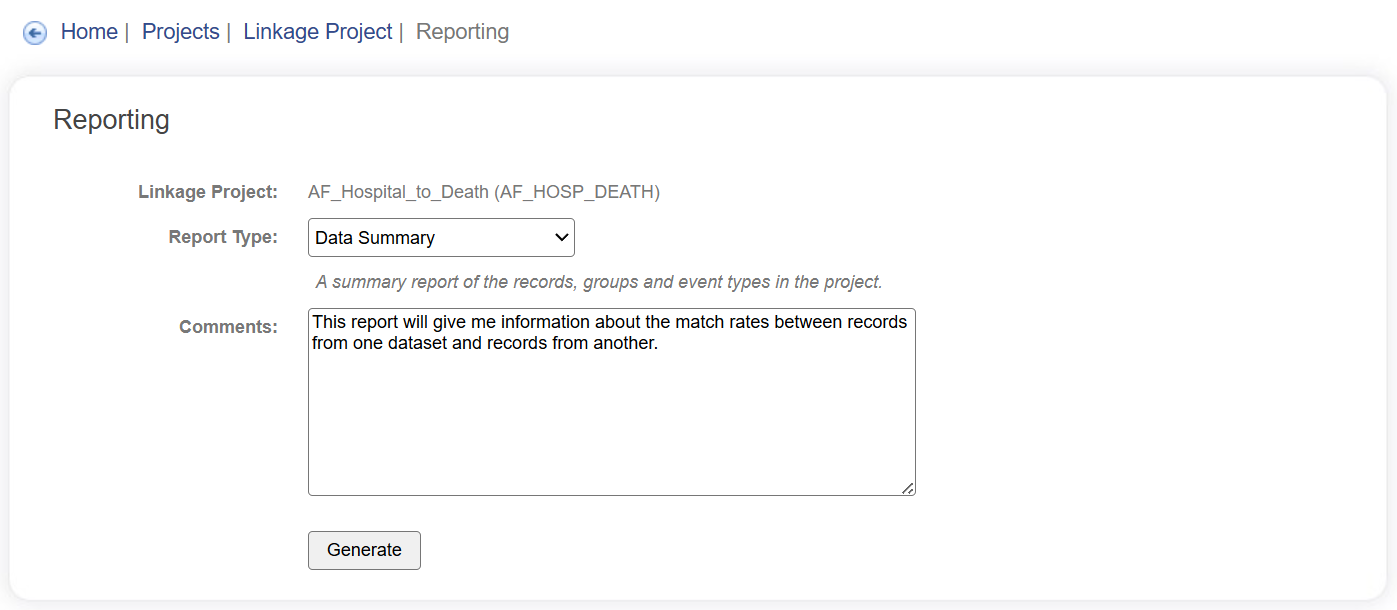
When the Reporting job has completed, an additional Report will appear in the list of Generated Reports for this Project (shown below). Click on the Report icon to view details of this report.
Producing and Extracting Linkage keys
Step 6: Begin by navigating to your specific project dashboard (click on the PROJECTS tab on the LinXmart web interface, then click on XX_HOSP_DEATH project as before).
Under the Extraction Projects section, click Add Extraction Project near the bottom of the screen (shown below).

Then type in the details such as that shown below and click Save.
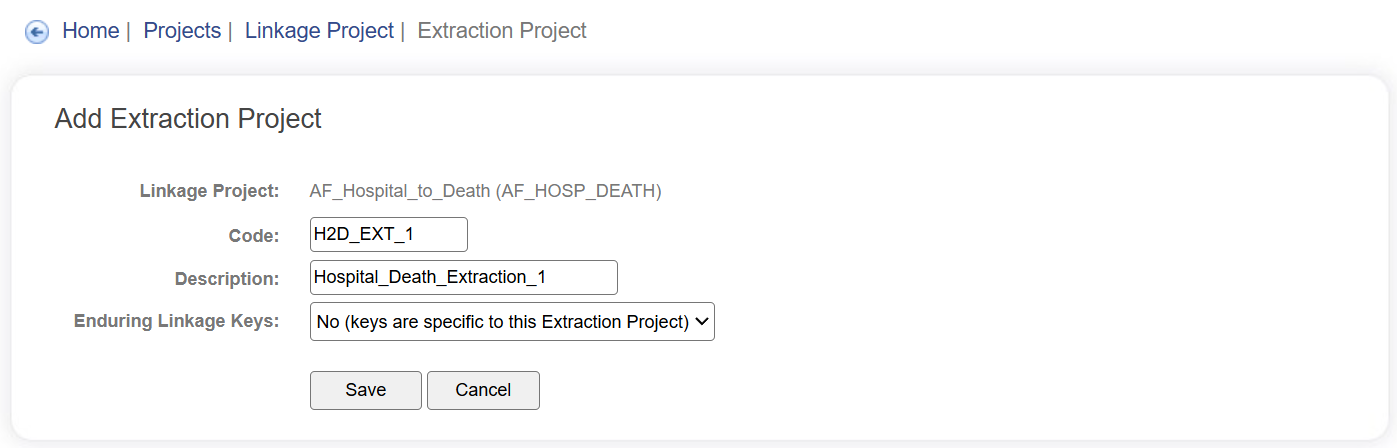
Data can be extracted using this Extraction Project at any time in the Linkage Project.
As we have not specified 'enduring' linkage keys, even if additional datasets are added to the Linkage Project, any requested extractions that refer to this Extraction Project will revert back to how the linkage map looked at the time that this Extraction Project was created – i.e. a snapshot of the linkage map.
If you were to specify the Extraction Project to use 'enduring' linkage keys, the keys produced by the system would be consistent across the life of the Linkage Project.
Step 7: Click on the Request New Data Extraction link at the bottom of the Extraction Project page. Click on the Event Types field to choose from the list of Event Types that are part of the Linkage Project. While you can request the linkage map for all data at once, the extraction results are separated based on Event Type and will be available in different files.
Step 8: Select the checkboxes next to each Event Type (or click Select all), then click the Request button.
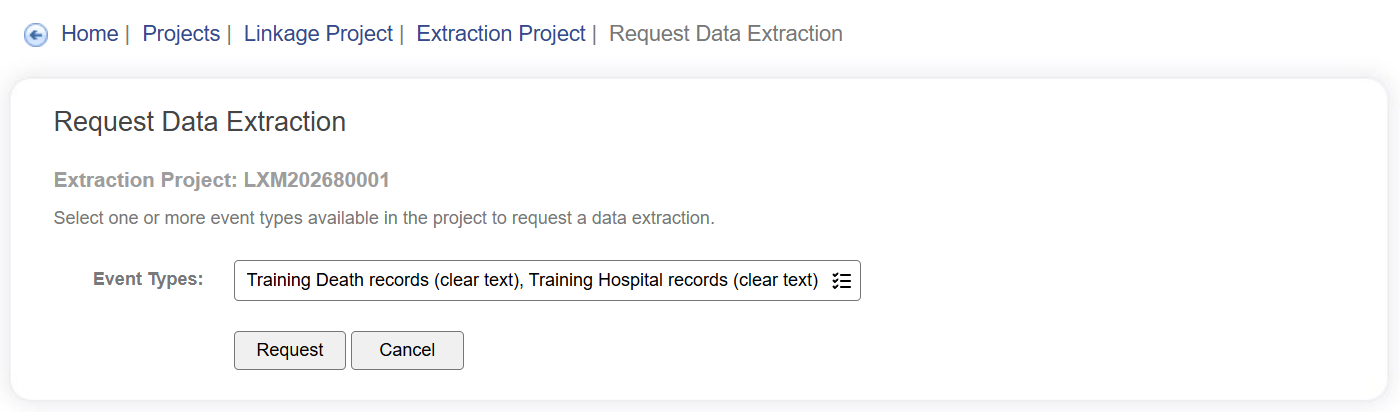
This will add a job to the queue for the extraction of each Event Type selected. You can see the progress of these on the Jobs page (ACTIVITY screen -> JOBS tab).
When the jobs are completed, the Extraction Project details will be displayed in your project Dashboard.
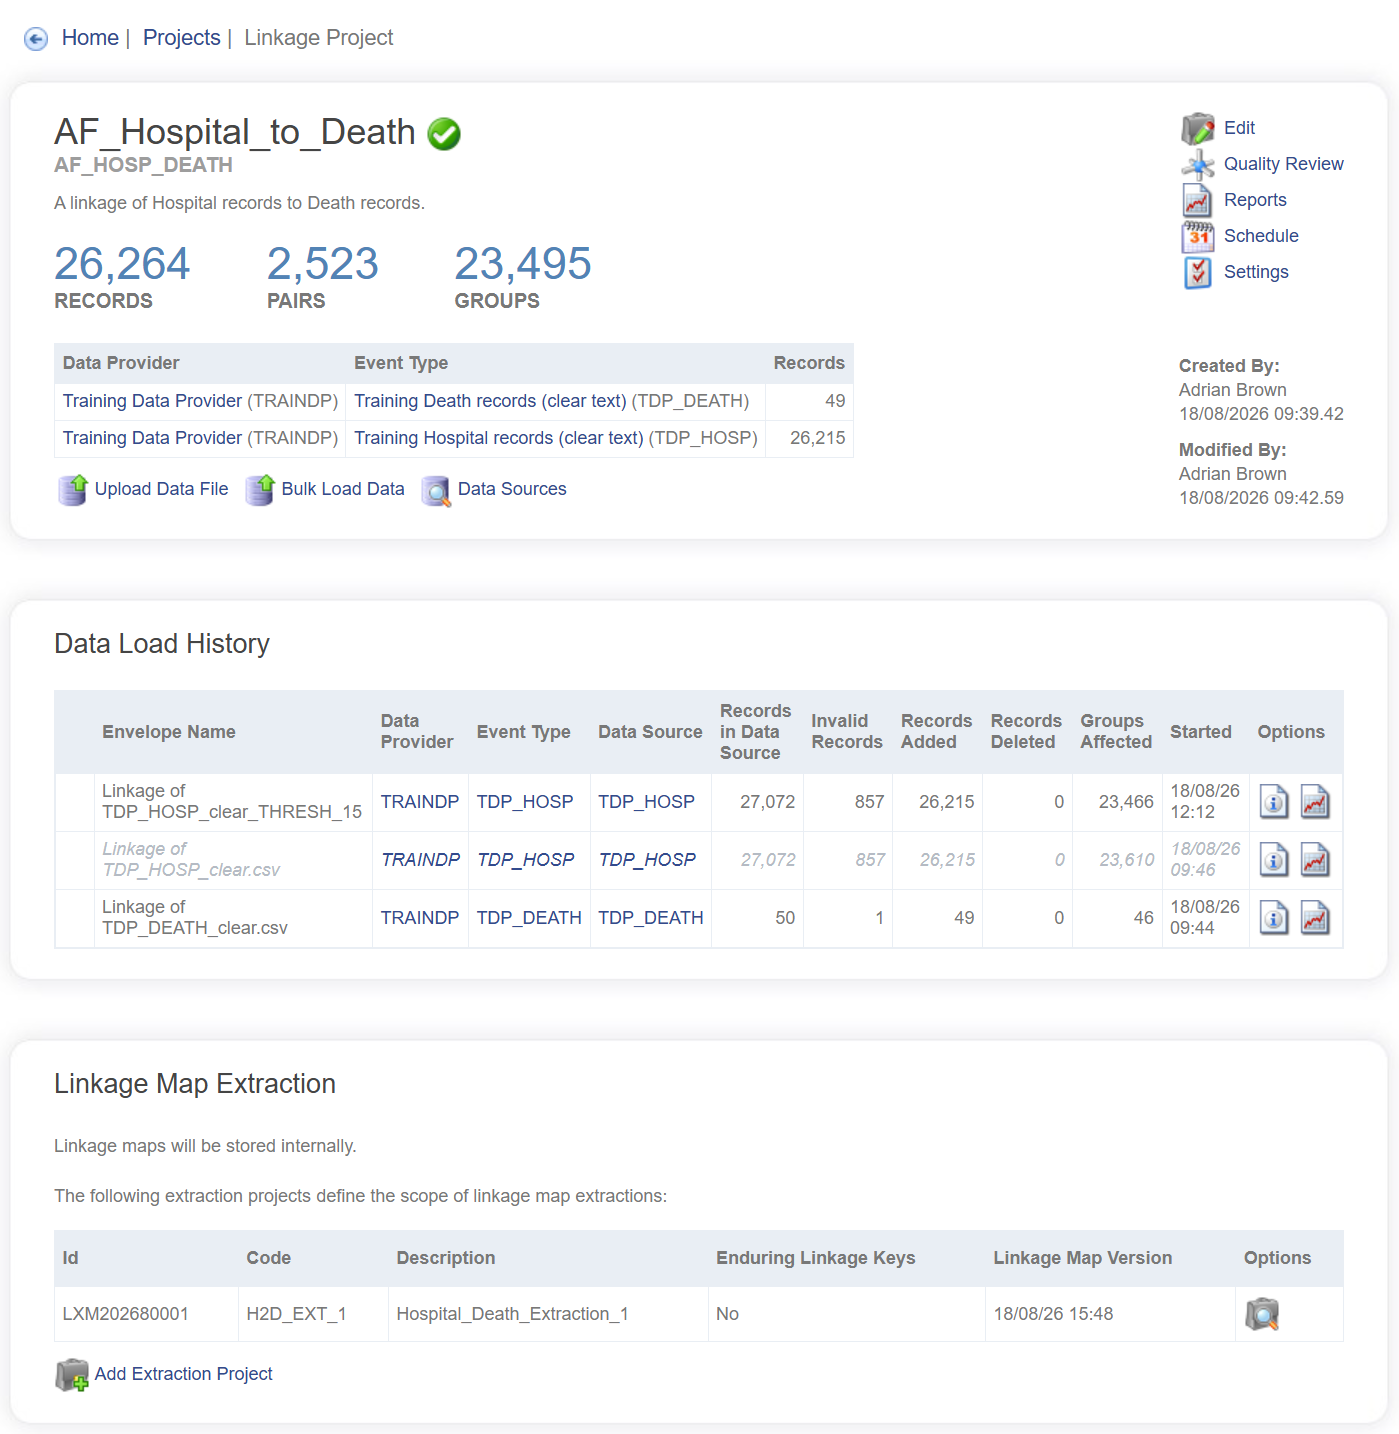
Step 9: Click on the Extract Project and then click on the Download button in the Options column of one of the extraction results (shown below).
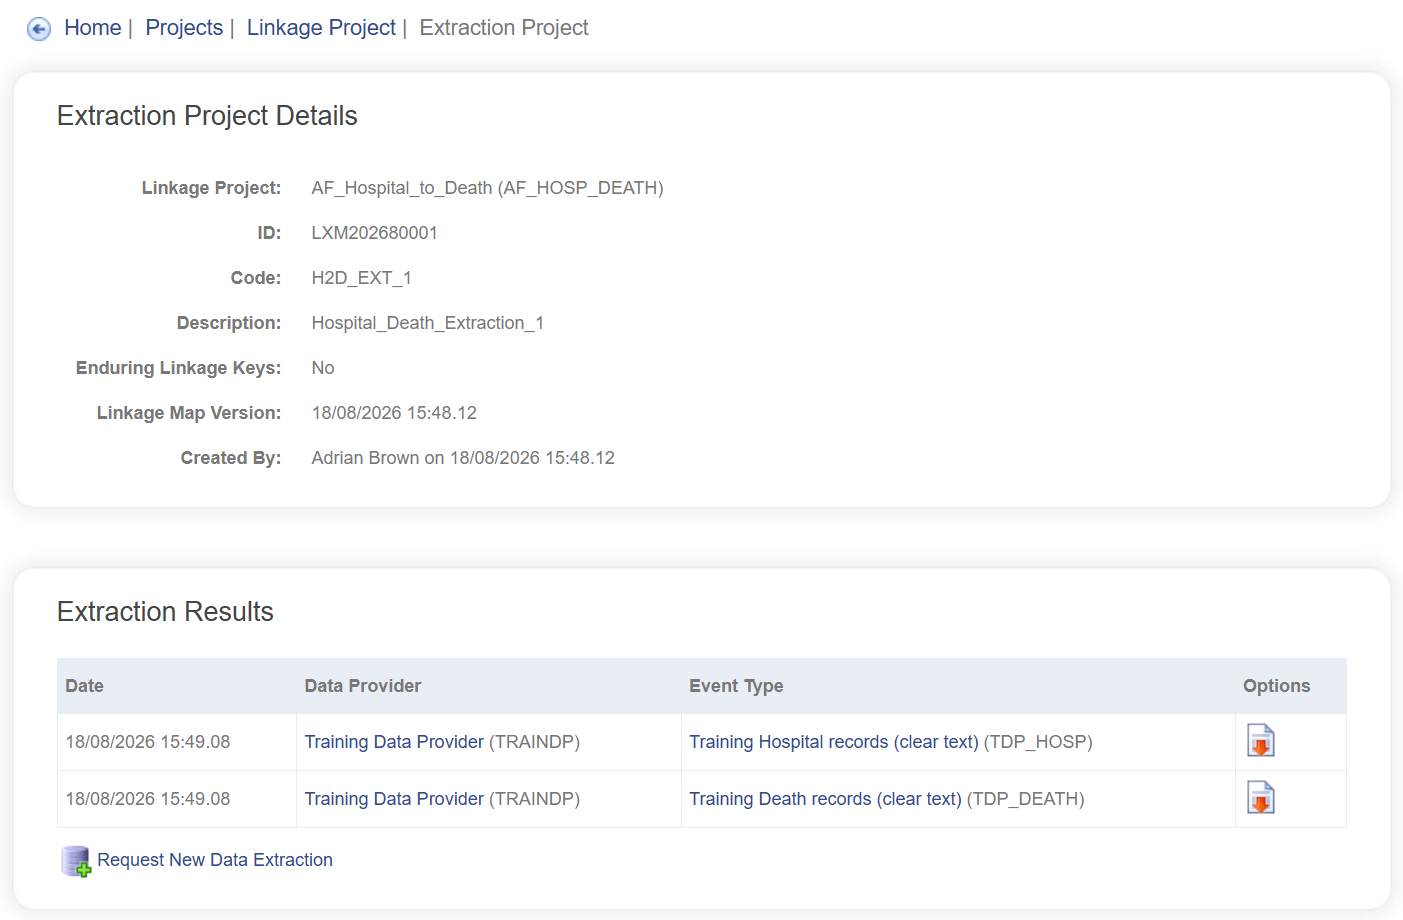
A zip file will be downloaded. The name of the zip file contains reference information about Extraction Project, the event type and a date-stamp e.g. LXM202680001_TDP_HOSP_20260818074937.zip.
Open this zip file and view the file named data-extract.csv.
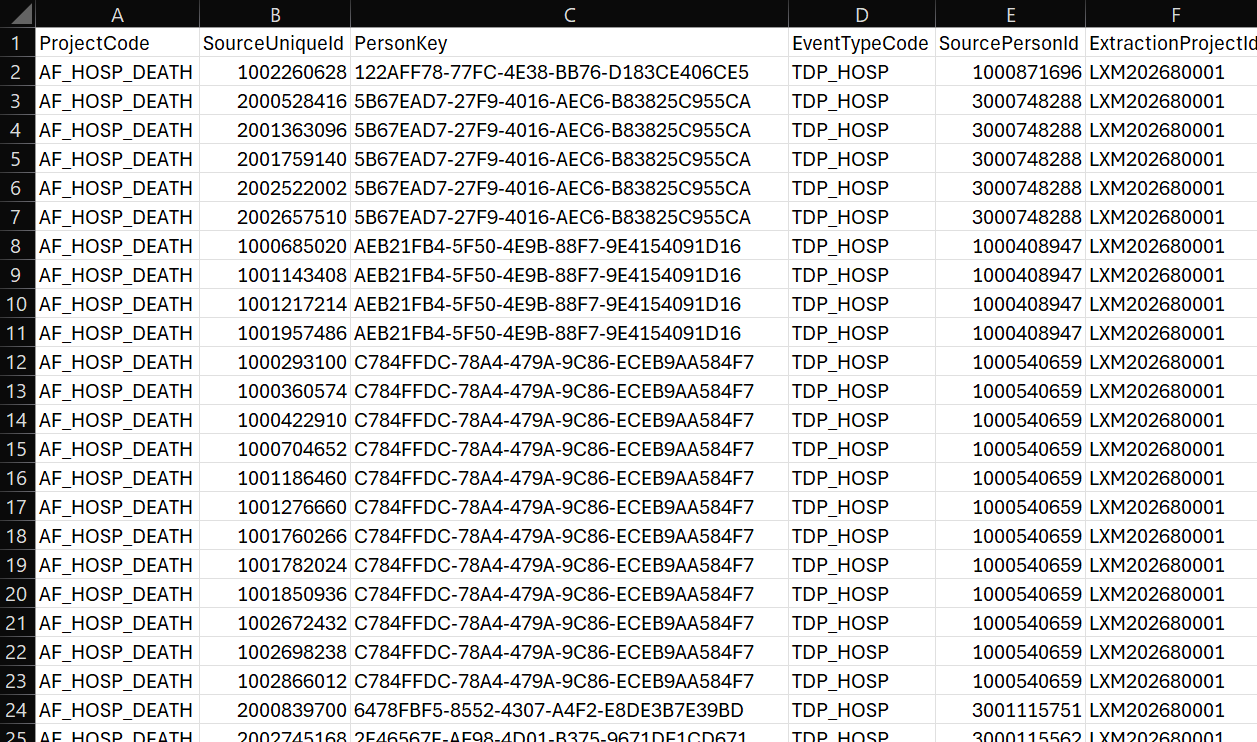
You will see several columns. The first column is the linkage project code – in this case, it will be XX_HOSP_DEATH. The second column is the unique record identifier. These are the same identifiers found in the file that was originally loaded into LinXmart. The fourth column is the generated person identifier (PersonKey) created by LinXmart.
LinXmart does not release the person identifiers used internally within the system. Instead, LinXmart gives out different (or masked) person identifiers for each Extraction Project. This provides an additional layer of privacy, allowing only recipients of linkage maps from the same Extraction Project to join their datasets together. The fifth column is only applicable for Project-to-Project linkages and can be ignored for now.
The last two columns describe the Event type and the ExtractionProjectID which created this output. These are also for reference purposes.