Envelope Builder for Data Custodians
This tutorial is intended for data custodians participating in Privacy-Preserving Record Linkage (PPRL) projects and will walk through how to use the Envelope Builder App to encode their data into a privacy-preserved state.
Before continuing with this tutorial, it is important to understand what the Envelope Builder is and how it is used to enable PPRL. Please read through the following short topics:
Required data
The following inputs will be required for the encoding process:
- Source data - this is your own data that is to be encoded by Envelope Builder
- Project definition file - sent to you by the linkage team/unit
- Key file - created by you, or sent to you by another data custodian
Data preparation
The raw Personally Identifiable Information (PII) data that is to be encoded by Envelope Builder must be in a specific format:
- Delimited text file
- Single header row
- Unique column names
Export the required data to a text file that meets the above criteria.
Share the schema of the exported data file with the linkage team before the project definition file is prepared and sent to you. This makes the mapping of source columns much easier within the Envelope Builder App.
App deployment
The Envelope Builder App is distributed as a self-contained zip file. This means it can be copied onto a machine, unzipped to a local folder and run.
- There are no additional dependencies other than the libraries (.dll files) contained within the zip file.
- No internet access is required.
- It runs only on modern Microsoft Windows operating systems, including Windows 10/11 and Windows Server.
The self-contained zip file will have been sent to you by LinXmart Co, or by the linkage unit undertaking the linkage.
Copy this zip file to a machine - desktop or server - that has access to the data you will be encoding. Unzip the file to a local folder. Inside is a single executable, LinXmartEnvelopeBuilder.exe, along with a few libraries.
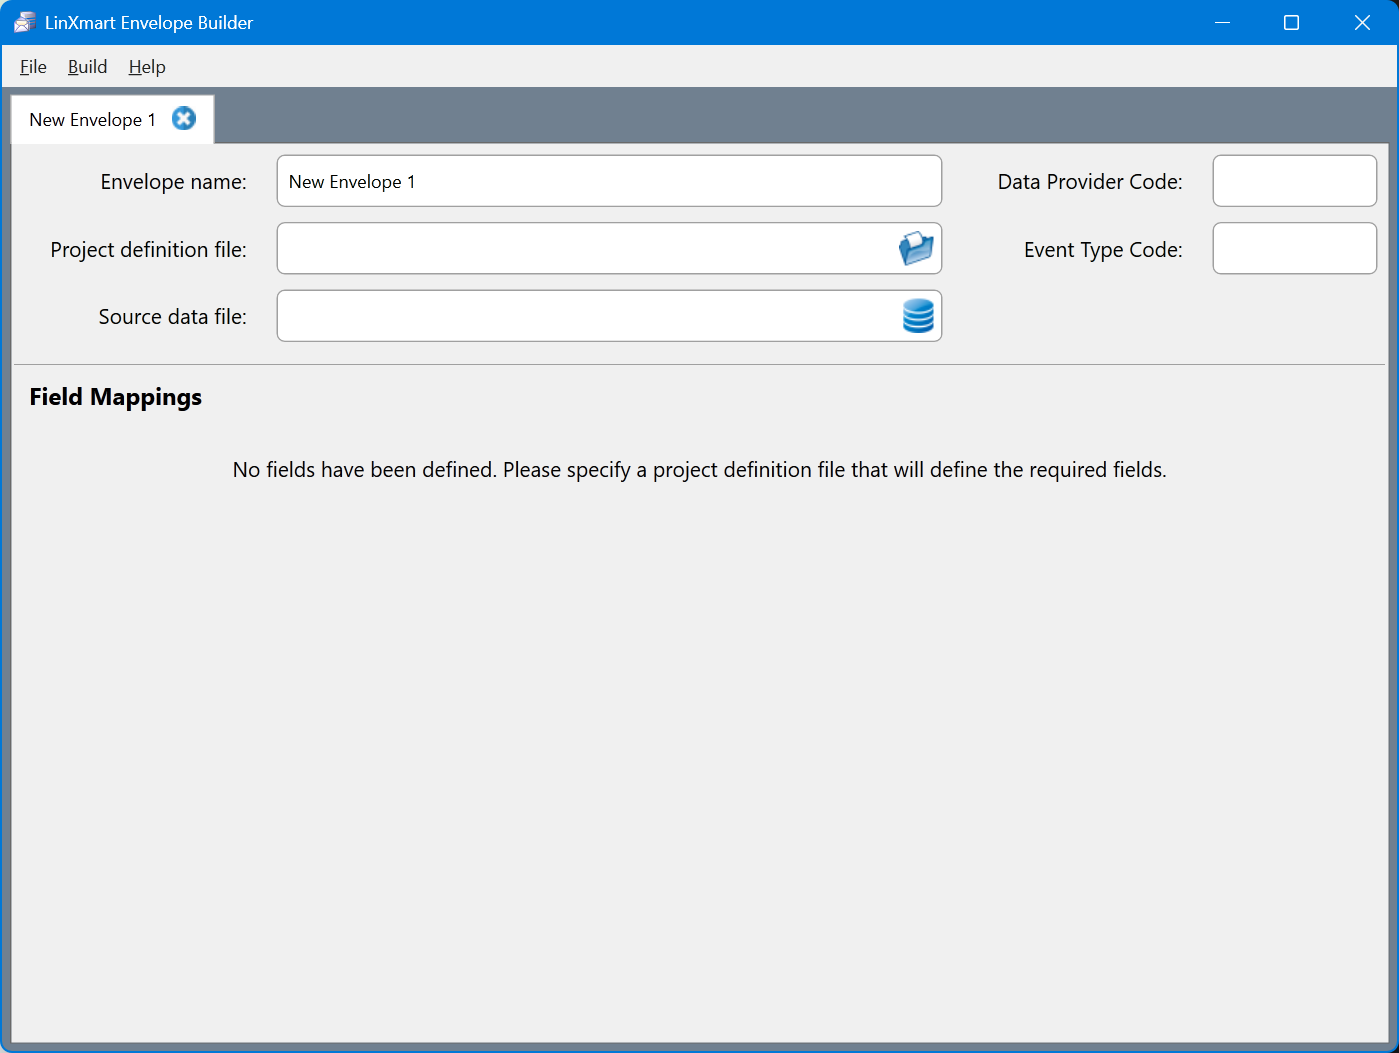
Run the .exe to open the Envelope Builder App. It will look like the screenshot below.
Click on the Help menu and select About. The about box is displayed.
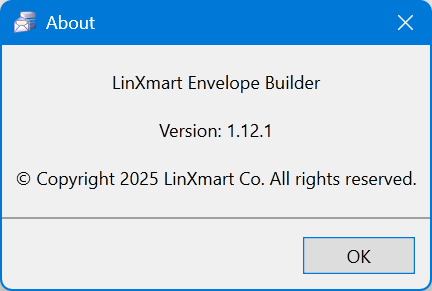
Note the version number and confirm this is the version of the Envelope Builder App that you should be using, according to the linkage team.
Encoding the data
First, lets rename the Envelope from New Envelope 1 to something more meaningful; this field is right at the top of the window. This name will be used as the name of the zip file that is sent to the linkage unit, so it is a good idea to include the name of the project and dataset used.
Project definition file
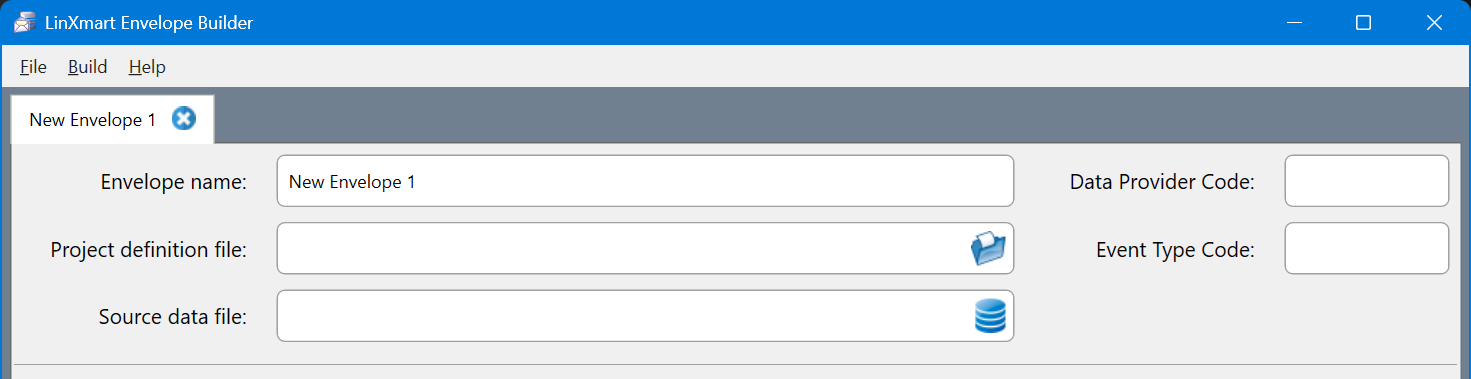
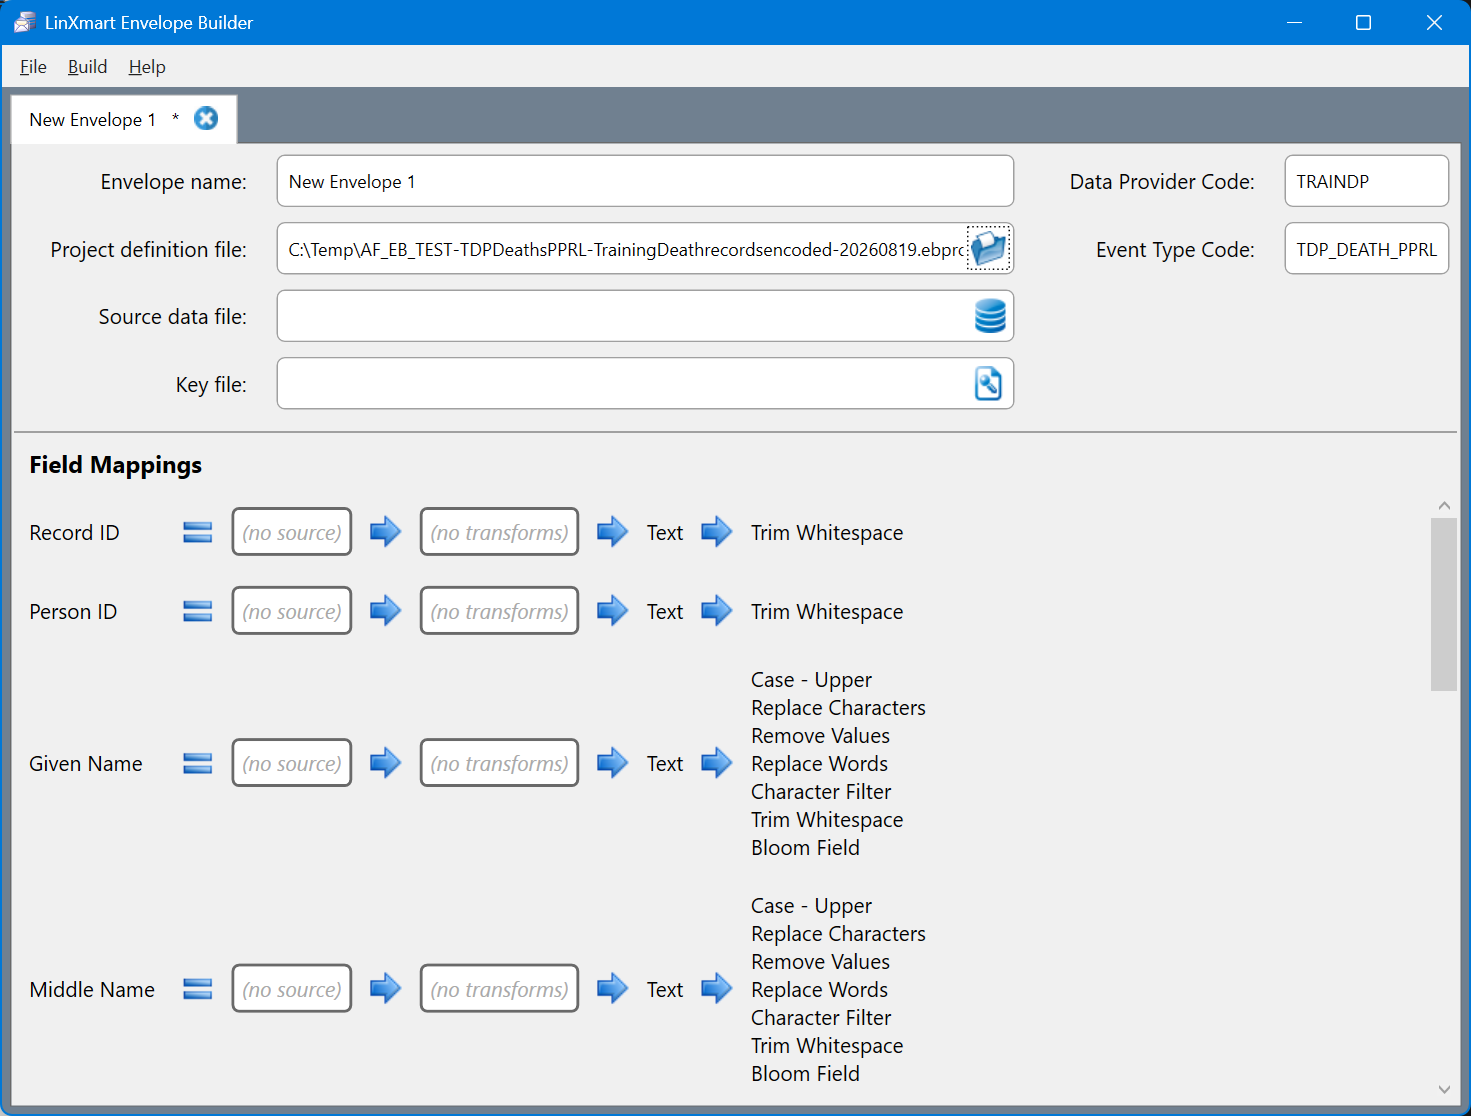
Go to the Project definition file field and click on the Folder icon (shown below). Select the .ebproj file that was sent to you by the linkage team and click Open.

The required field mappings are now displayed on the bottom part of the window.
Now go to the Source data file field and click on the File Icon (shown below).
Source data
Navigate to the folder where your UNENCODED source data is located and click Open. You will be presented with a preview of the source data.
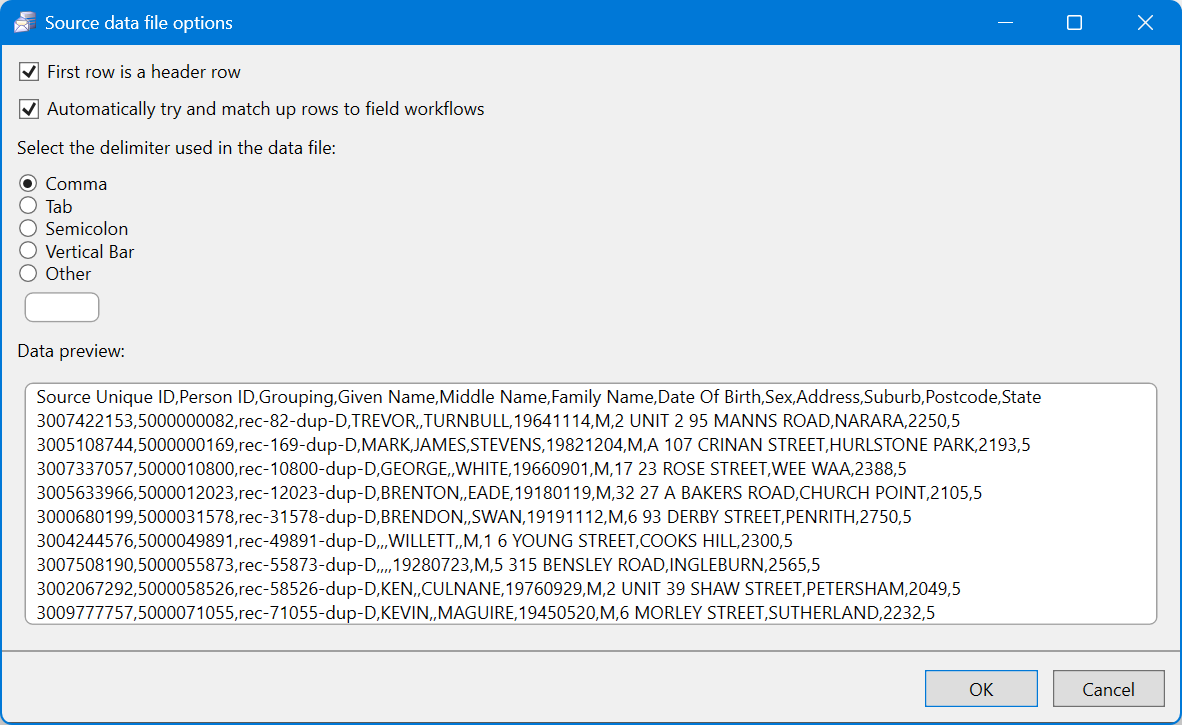
Ensure the data looks correct and the appropriate delimiter has been selected. Then click OK.
The App will attempt to map the fields in your source data to the required field mappings provided by the project definition file. If the source data schema was shared with the linkage team, they should have prepared the project definition file such that all fields are automatically mapped.
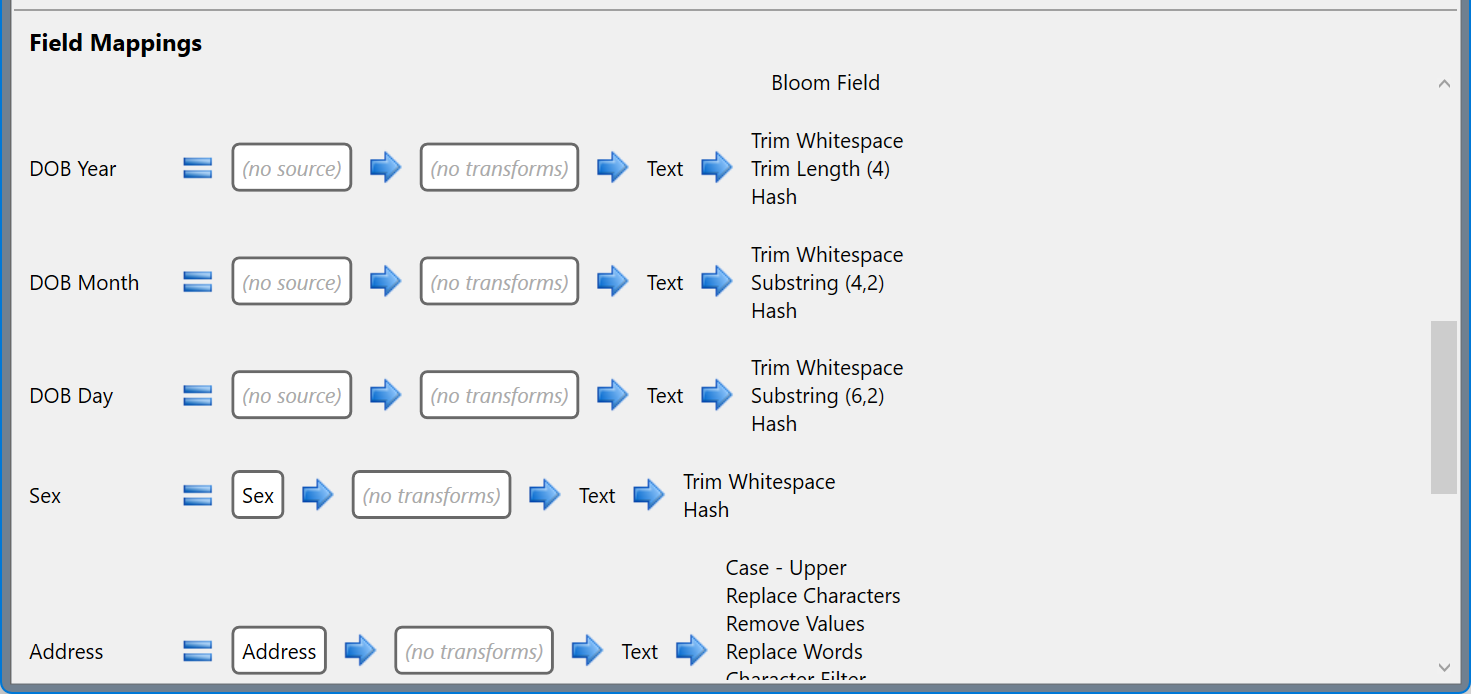
However, some mappings may be missing and will need to be done manually. Scroll down the field mappings and look for any field that is missing its mapping, denoted by (no source).
The example below shows the Date Of Birth fields have not been mapped automatically.

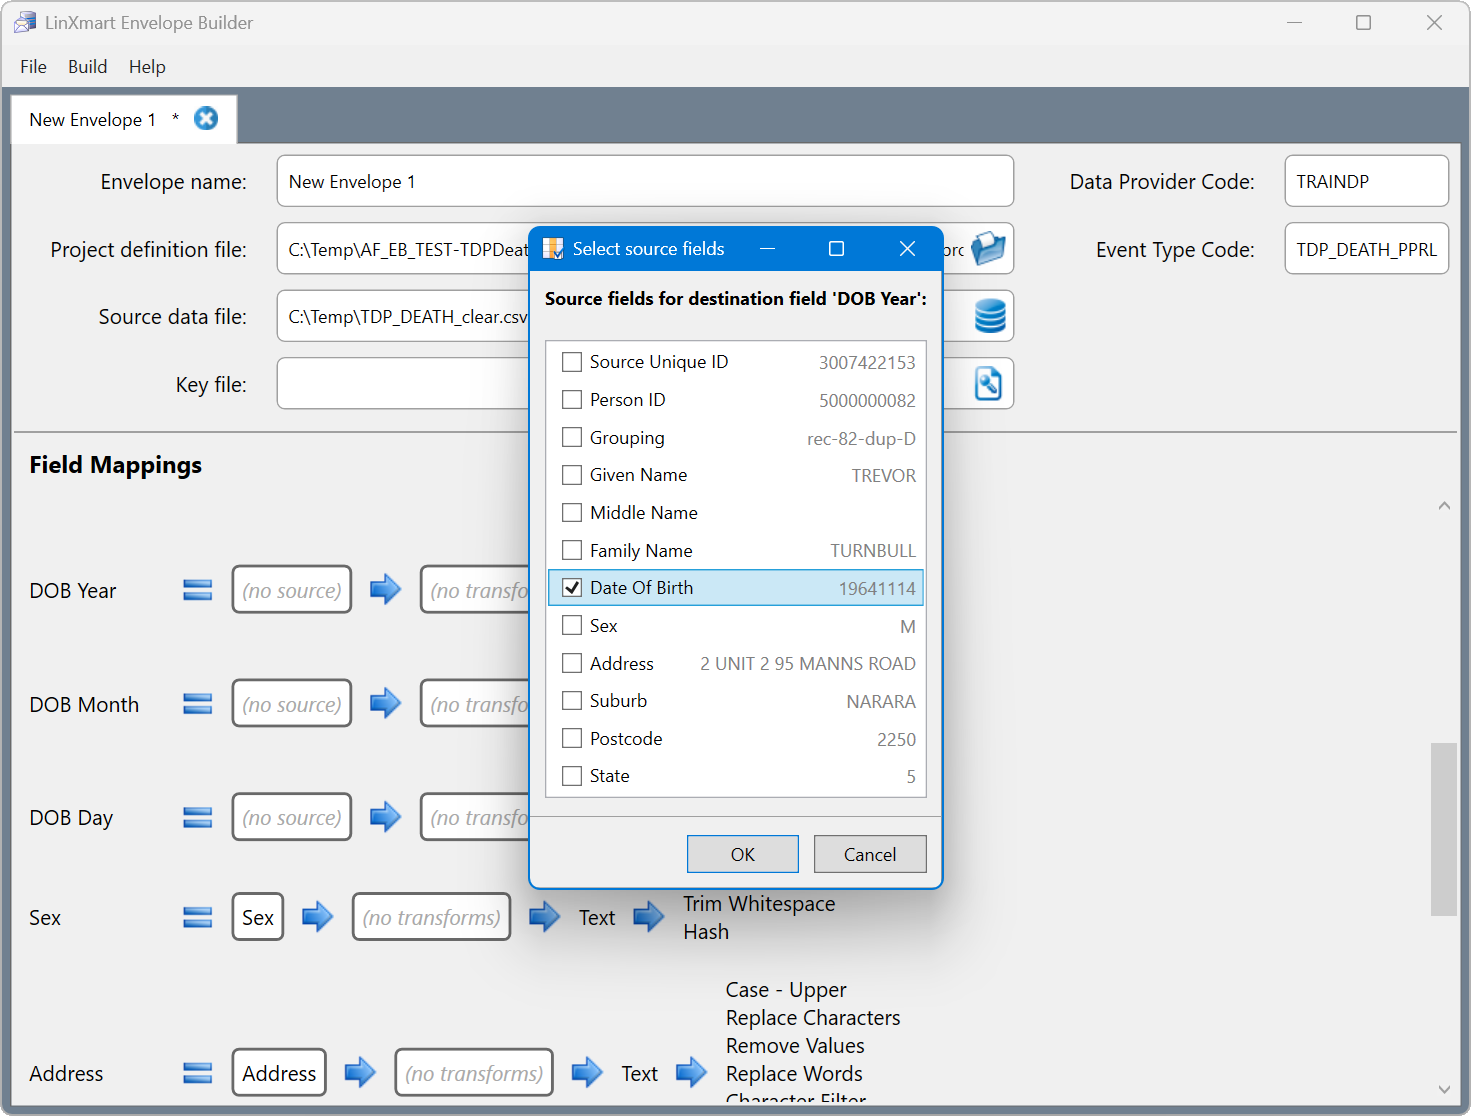
To map these fields manually, click on each of the boxes showing '(no source)' and select the correct source data field that applies.
Key file
A key file will be required for all PPRL projects. This key file is created by one of the data custodians and shared with the other data custodians.
The key file and/or password should never be shared with the linkage team/unit!
The data custodian who is creating the key should have already been determined. If you are the one creating the, continue on with the next section. If you are using a key that has been created by another data custodian, skip ahead to Using an existing key file
Creating a new key file
Click the icon on the right of the Key file field and select No when asked if you want to use an existing key file.
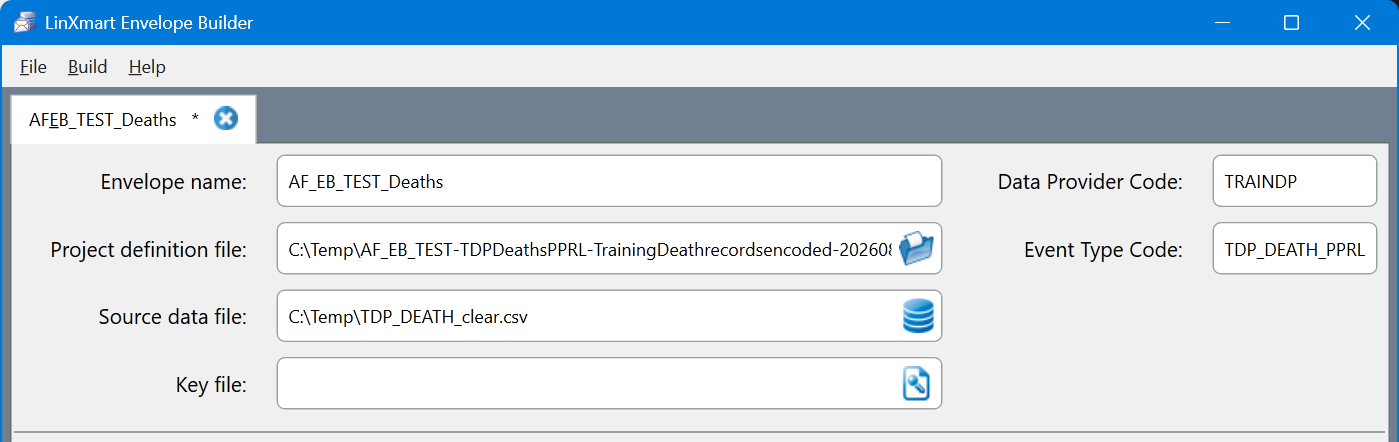
You will then be askedd to provide a location and name for the key file itself. This file has an .ebkey extension but is a text file with a JSON format. Put this .ebkey file in a secure location.
You have the option here to use a randomly generated key or to specify a key manually. If you want to specify the key, click the checkbox next to Manually Specify Key and enter in the key value in the provided field.
If you want a randomly generated key, leave the checkbox empty. The generated key is a cryptographically random selection of 100 bytes, converted to a hex string.
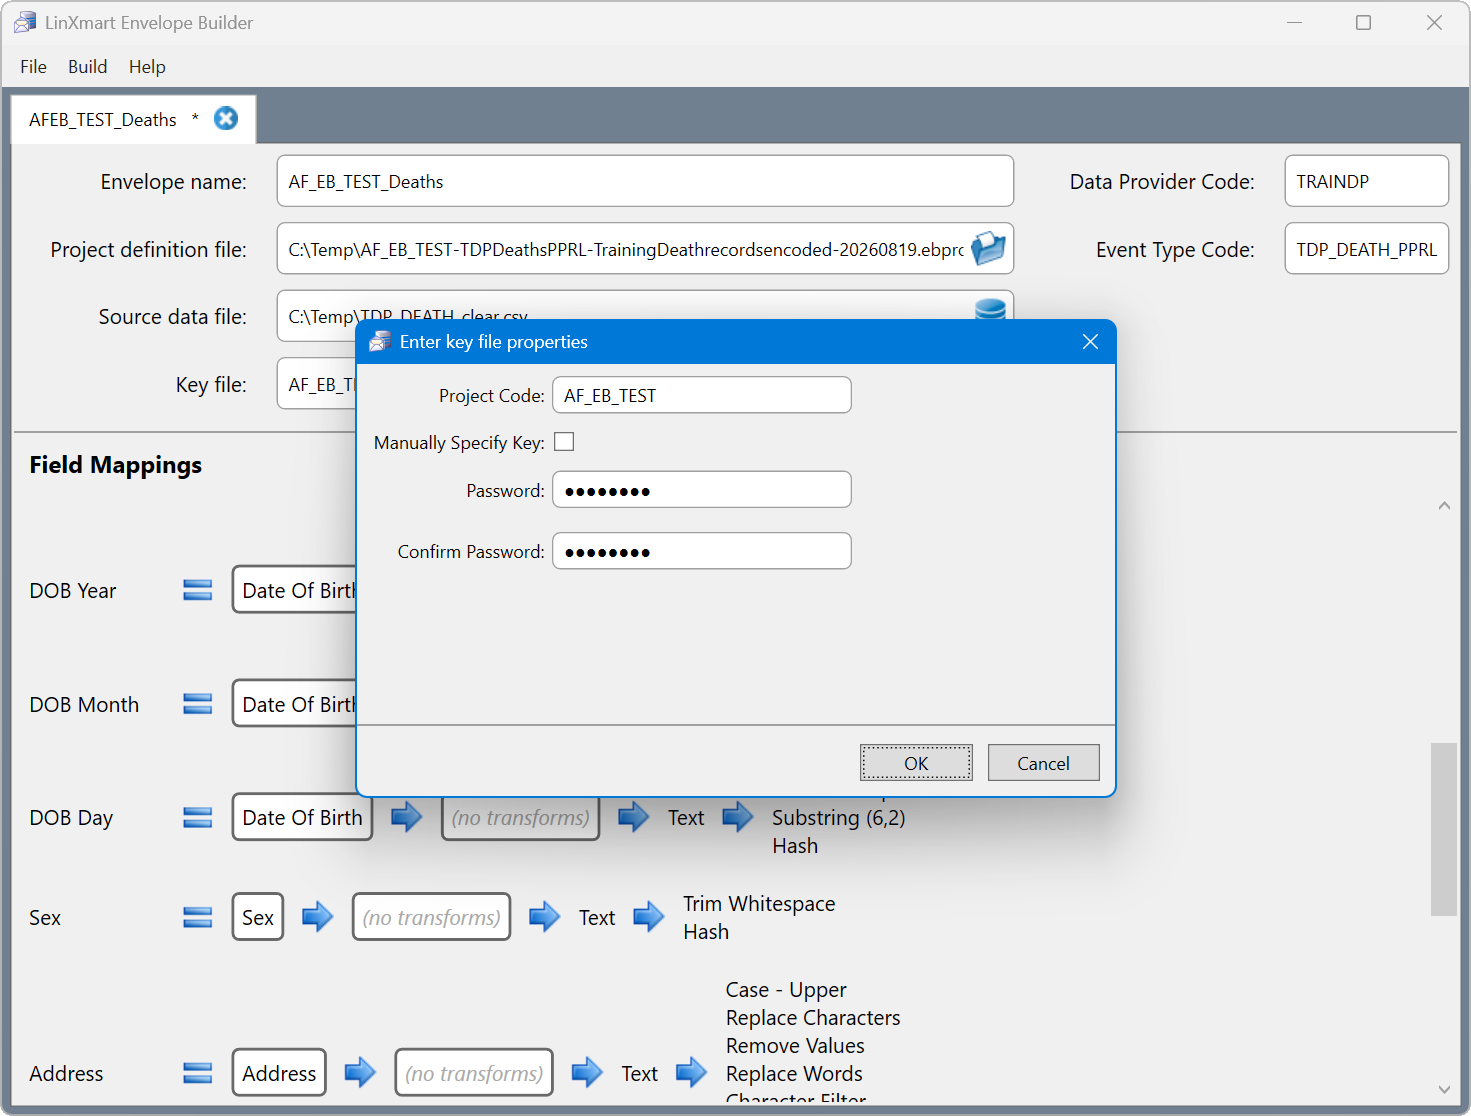
Enter a password for the key file and click OK.
The key file stores the secret used in the cryptographic hashing process, ensuring the encoded data is different to/separate from data prepared for any other PPRL project. The password is used to encrypt the contents of the secret within the key file itself.
The .ebkey file and the password that you entered will now need to be shared with the other data custodians that are involved in the PPRL project. We strongly recommend that this is done using a secure file transfer method that has been agreed upon during the initial phase of the project.
Using an existing key file
Click the icon on the right of the Key file field and select Yes when asked if you want to use an existing key file.
Navigate to the location of the .ebkey file that was shared with you for this PPRL project. Select the file and click Open.
Enter the password for the the .ebkey file that was also shared with you and click OK.

Building the envelope
Click on the Build menu and select Preview File. This will show you what the encoded data will look like for the first 100 or so rows.
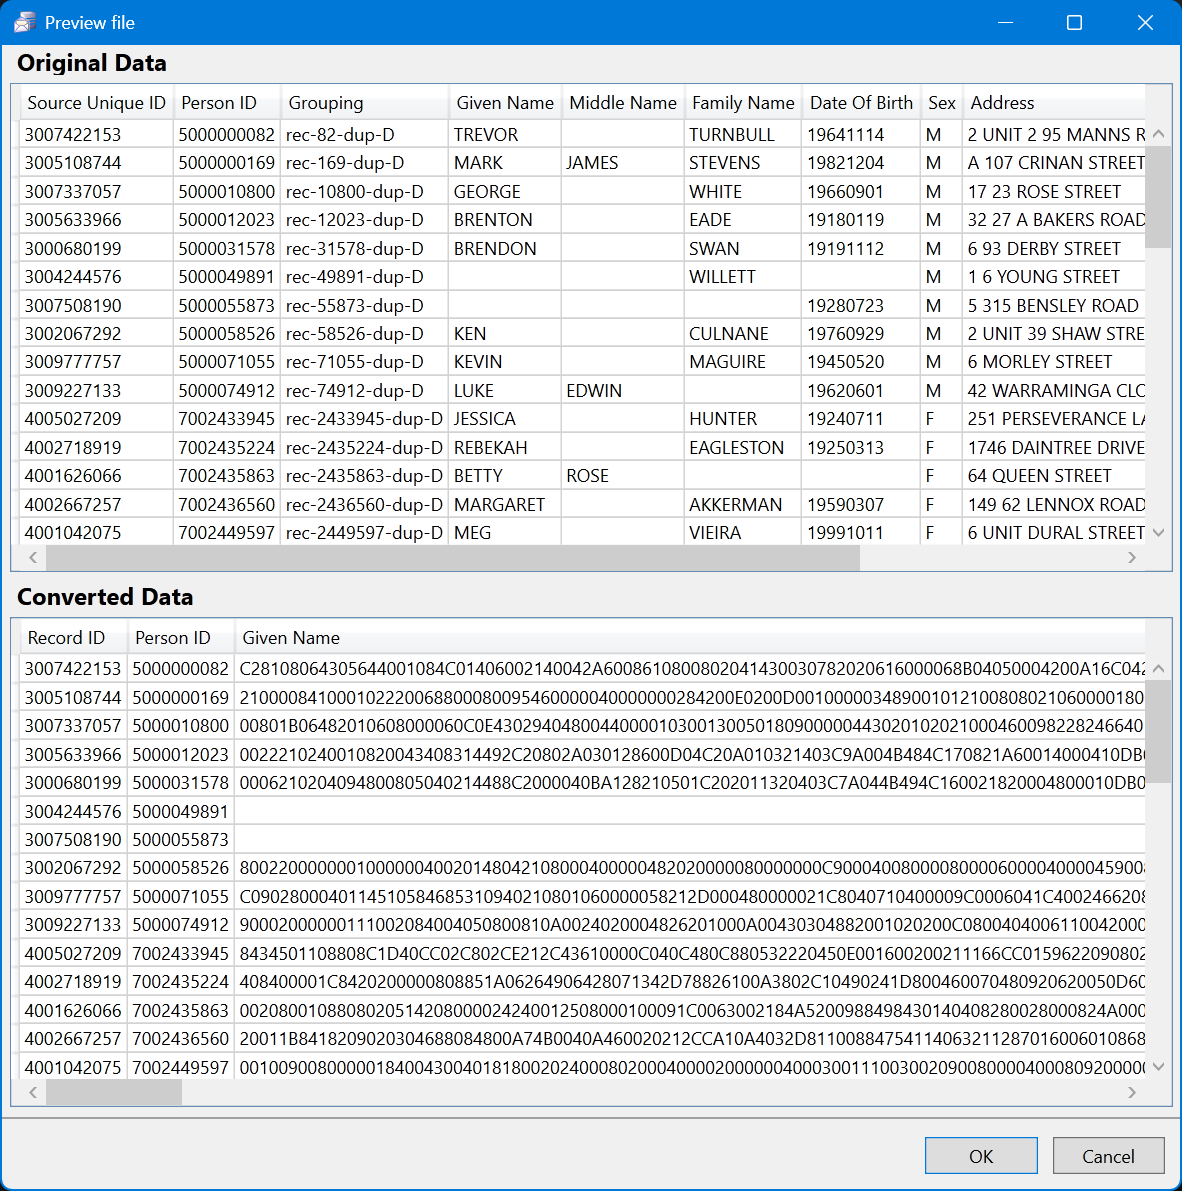
Have a scroll through the bottom Converted Data section and verify that all columns have at least one row with data. A column that is empty for all rows in the preview might indicate a misconfigured field mapping. If this is the case, go back and verify the field mapping for that field and adjust as necessary.
Now you should be ready to build the envelope. Click on the Build menu and select Build Envelope.... You will presented with a small options dialog.
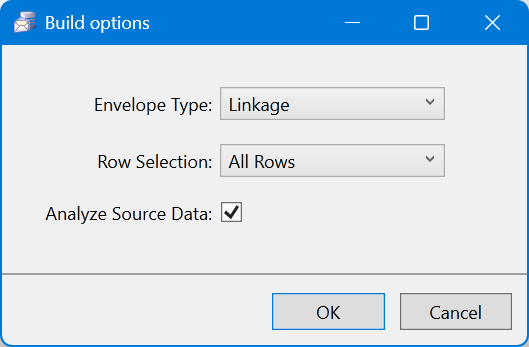
Keep the default settings here and click OK.
Choose the file name and location of the final Envelope zip file. It will default to the name you specified in the Envelope name field at the top of the window. Click Save.
If all goes well, you should see a success message.
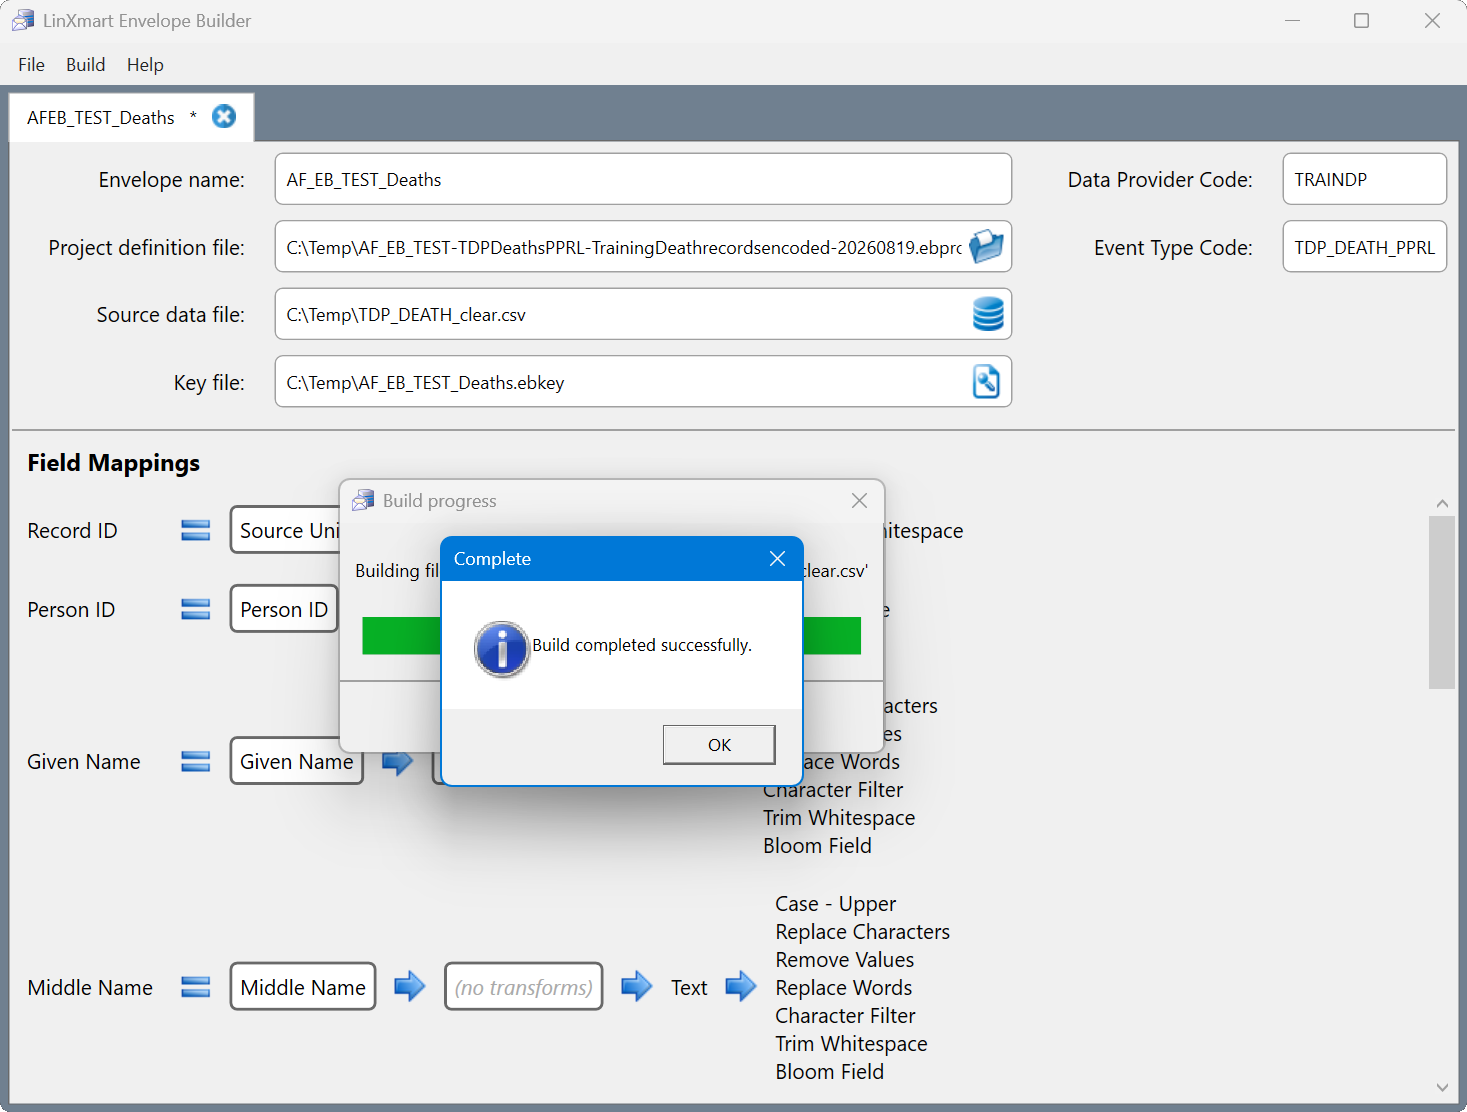
The Envelope has been created!
Verification and delivery
The Envelope file is just a standard zip file containing encoded data, some metadata files and a manifest.
Please feel free to open the generated zip file and examine its contents. It should have the following files:
| File | Description |
|---|---|
| data.csv | The encoded data that will be used for linkage. |
| envelope.json | Configuration settings used to generate the envelope, including the project definition and any fields entered by the user. |
| manifest.xml | The manifest identifies the zip file as a LinXmart Envelope and includes references to all other files in the zip. |
| project.json | A copy of the project definition file that was used. |
| sourcefields.csv | An analysis of each of the fields in the source data file that could be helpful for determining linkage settings. |
| systeminfo.txt | Information on the system where Envelope Builder was run and verification fingerprints for compatibility checking. |
The Envelope zip file is now ready to be delivered to the linkage unit/team for linkage. Again, we strongly recommend that this is done using a secure file transfer method that has been agreed upon during the initial phase of the project.